Event
Matched Fundraising Dollar-for-Dollar
—
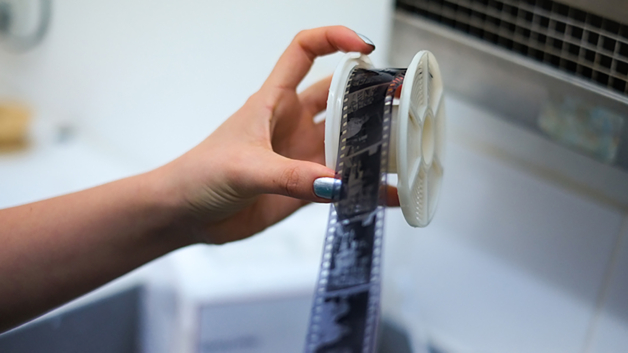
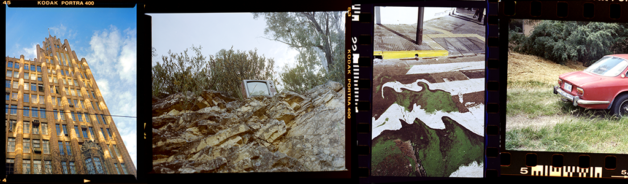
This workshop is a quick and easy way to learn how to develop your own black and white 35mm film or 120 film.
—
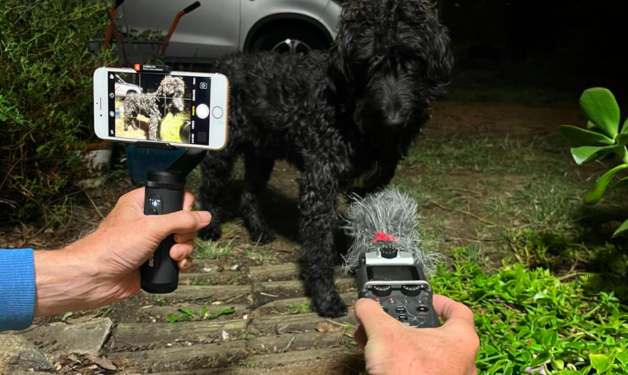
Discover the world of mobile filmmaking with our Pocket Cinema workshop, a hands-on 4-session workshop taught by acclaimed filmmaker Nathan Hughes.
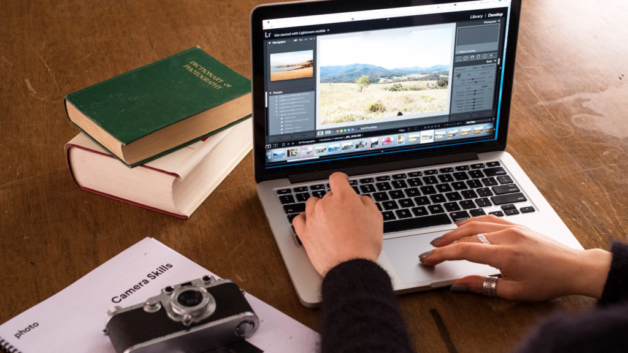
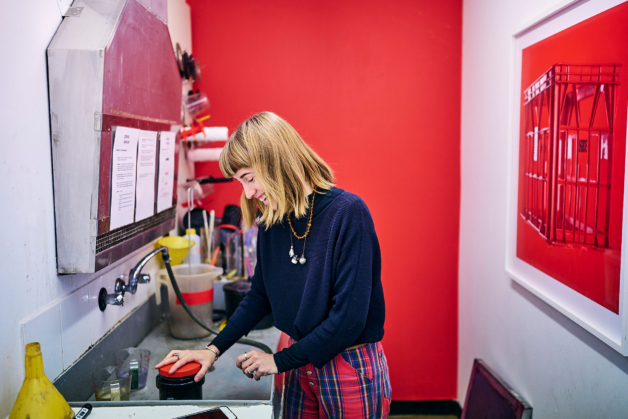
Learn the basics of Adobe Lightroom to quickly and effectively edit your photographs to make them look their best!
photo access is a unique centre for image making, established in 1984, and is the longest-lived such organisation in Australia. With a full exhibition and events program, workshop schedule, and community projects, there is always something happening at photo access.
—
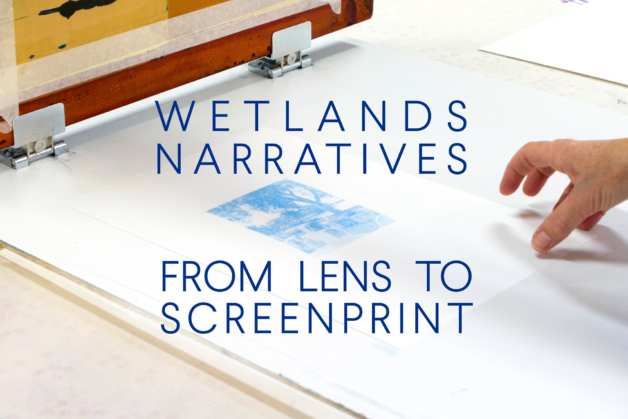
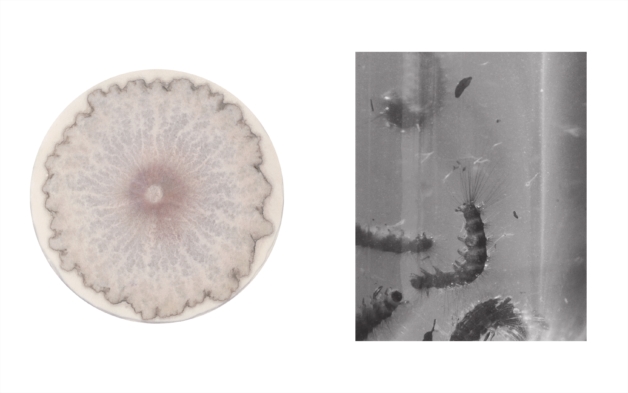
Explore Jerrabomberra Wetlands, capture nature's beauty, and craft vibrant prints in this photography and screen-printing workshop.
—
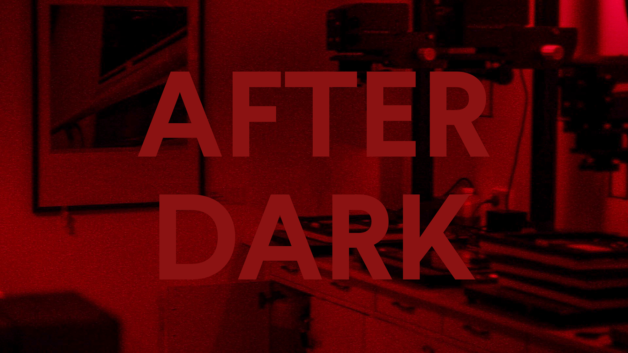
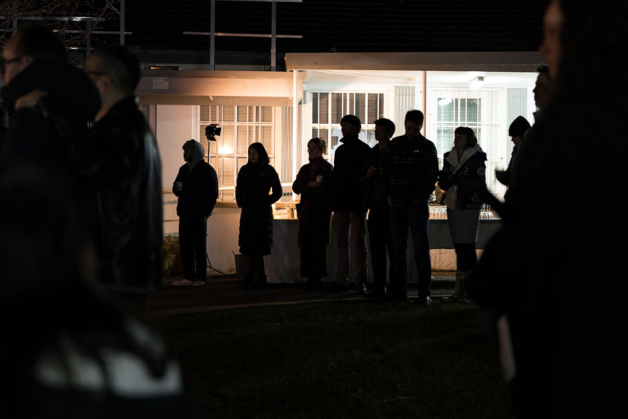
After Dark 2024 is a space where PhotoAccess members can come together to use the member's facilities after hours.
—
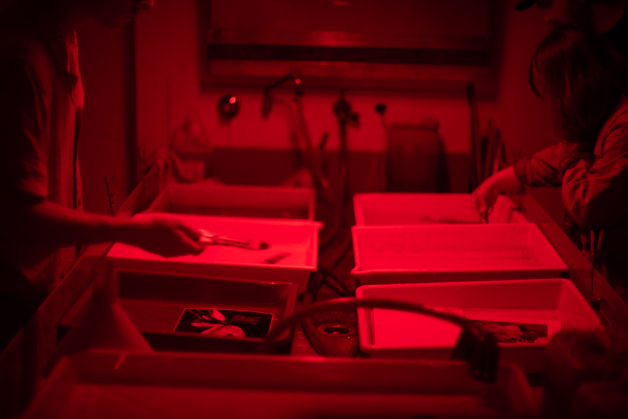
Learn the magic of black-and-white photography and darkroom processes over 4 weeknights.
Join us for a lively opening with drinks and nibbles provided
—
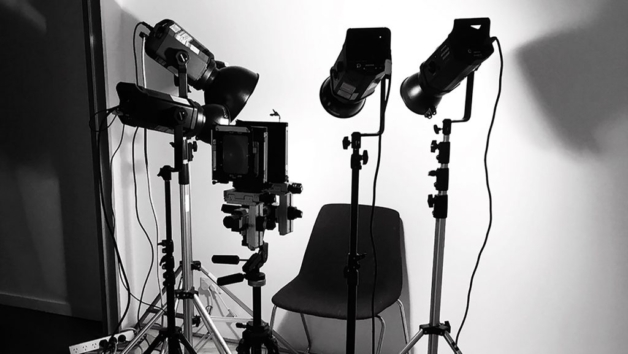
Learn the basics of large format photography in this weekend workshop.
Colour development is not a daunting process! It’s quite straightforward, especially once you learn all the tips and tricks of the trade in this one-day workshop.
The Canberra region’s longest running and friendliest film lab, offering a full service for all your analogue and digital film needs, including B&W and colour film developing, scanning and printing.
photo access offers a wide range of creative workshops, across digital and analogue photography, each professionally led by an experienced tutor or exhibiting artist.
We offer a number of photographic facilities to develop your skills, and support your creativity including darkroom, film developing lab, digital suite and photobook library.
Looking for a creative opportunity? photo access offers various opportunities to be involved in the community, including annual call outs for exhibitions, residencies, and projects, as well as for volunteers and internship positions.
We are thrilled to announce the call for entries for the Canberra Contemporary Photographic Prize 2024
Seeking volunteers!

Seeking expressions of interest from digital media and networked artists
photo access‘s program and facilities are supported by the ACT Government through an ArtsACT Arts Centre Investment, and through generous business partnerships.